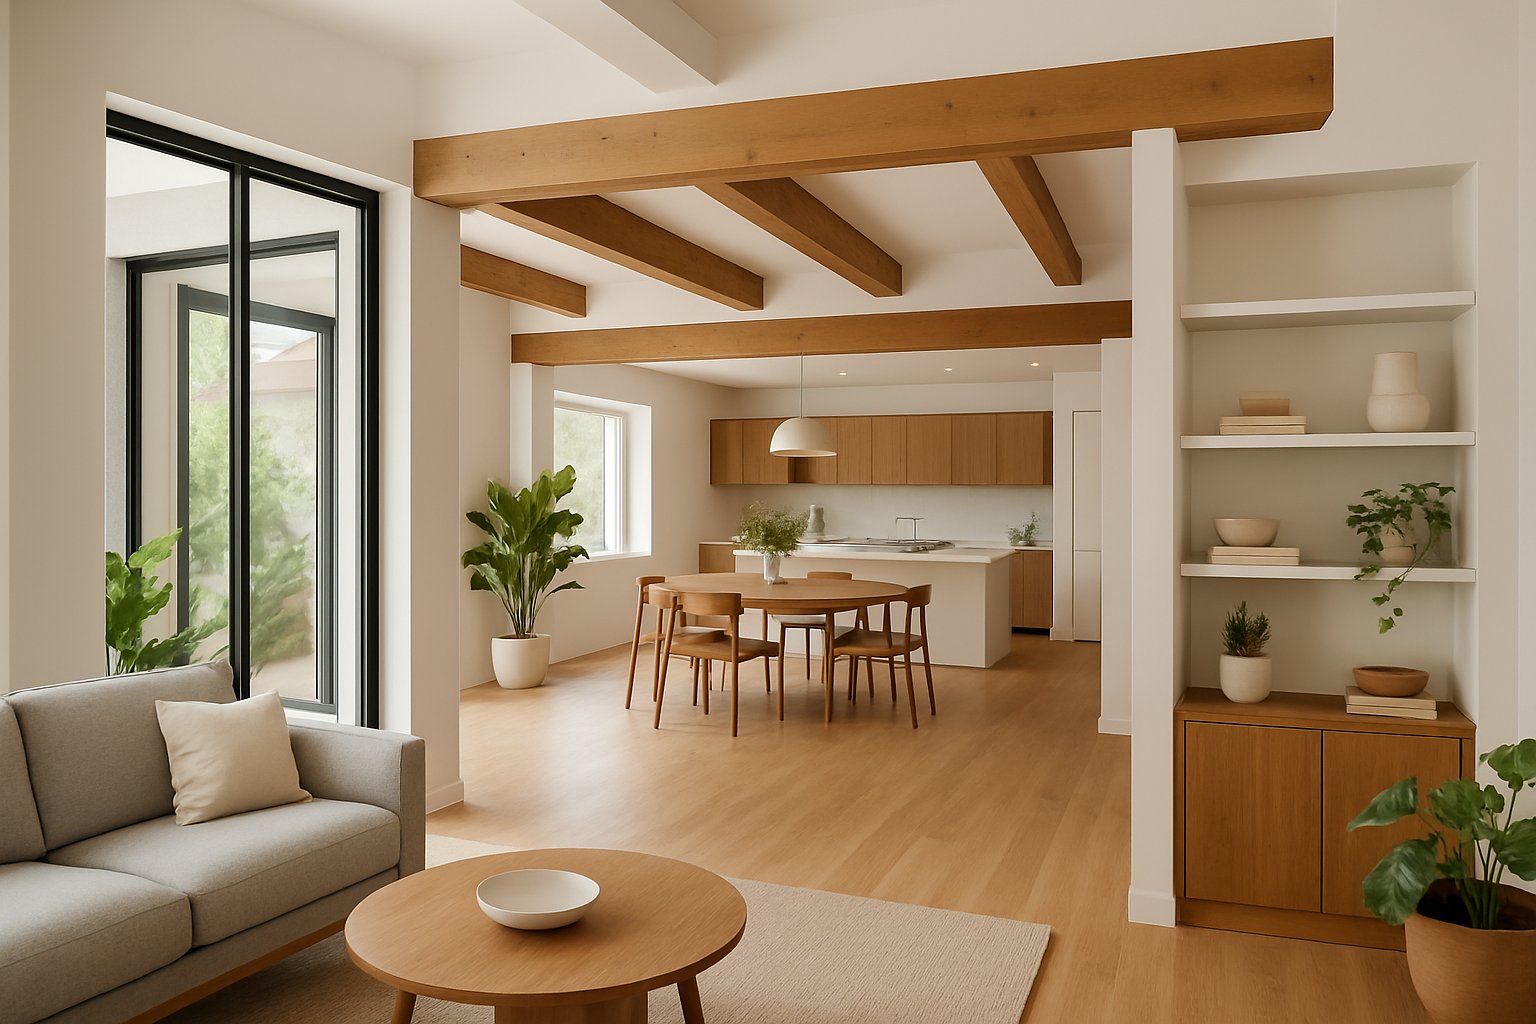
Maximize Your Enjoyment with these Home Renovations in Oxford County & Beyond
Because Life’s Too Short for Cramped Spaces and Awkward Floor Plans
Your home in Oxford County probably feels smaller than a hockey rink penalty box, and you’re tired of bumping into walls every time you try to host a decent gathering. The good news is that strategic wall removal and creative space solutions can transform your cramped quarters into something that actually feels liveable.
Removing the right walls and adding smart features can dramatically increase your home’s functionality and your daily enjoyment without requiring a complete gut job. Whether you’re dealing with a kitchen upgrade that’s barely big enough for one person or living spaces that feel disconnected, there are proven ways to open things up while maintaining the structure and privacy you need. Home renovations in Oxford County with a great contractor like Cass Construction are a great way to get the outcomes you need, and avoid the headaches you don’t.
1) Knock down that pesky wall between kitchen and living room — suddenly your tiny condo becomes an open-concept palace, eh?
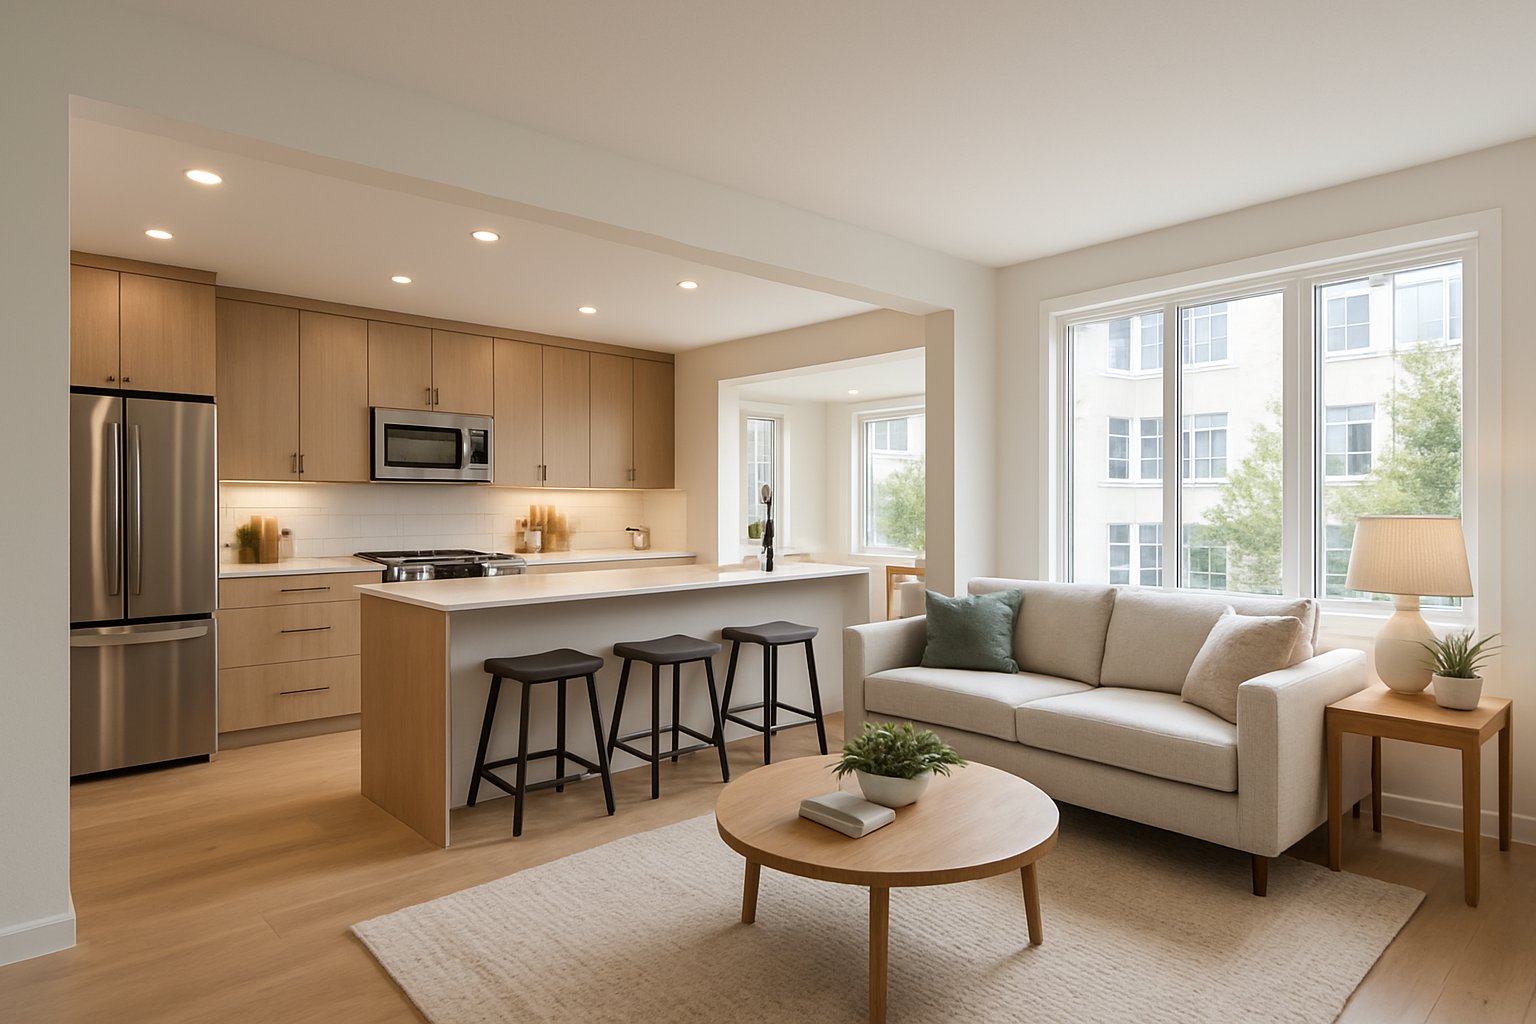
That wall between your kitchen and living room isn’t doing you any favours. It’s just sitting there, hogging space and making your place feel like a series of tiny boxes.
Removing that wall can transform your cramped quarters into something that feels twice as big. You’ll finally be able to chat with guests while cooking instead of yelling through the doorway like some sort of culinary hermit.
But hold your sledgehammer there, cowboy. Nine crucial things need consideration before you go full demolition mode on that wall.
The biggest question is whether you’re dealing with a load-bearing wall. These walls are actually holding up your ceiling or the floor above. Remove one without proper support, and you might end up with a very different kind of open concept than you planned.
You’ll need to hire a structural engineer to figure this out. Yes, it costs money upfront, but it’s cheaper than fixing a collapsed ceiling later.
If the wall isn’t load-bearing, you’re in luck. The project becomes much simpler and less expensive. You can often remove non-bearing walls yourself with the right tools and permits.
Don’t forget about what’s hiding inside that wall. Electrical wires, plumbing, or gas lines might be running through there. Moving these requires professional help and adds to your costs.
The mess will be impressive. Drywall dust gets everywhere, and debris piles up fast. Plan for proper cleanup and disposal before you start swinging.
Check with your building management if you live in a condo. Some buildings have restrictions on wall removal, even for interior walls. Getting approval first saves headaches later.
Once that wall is gone, your kitchen and living room flow together beautifully. Cooking becomes more social, and your space feels dramatically larger without adding a single square foot.
2) Install a custom sliding barn door for that ‘look ma, no walls!’ vibe without losing your privacy when Uncle Bob visits.
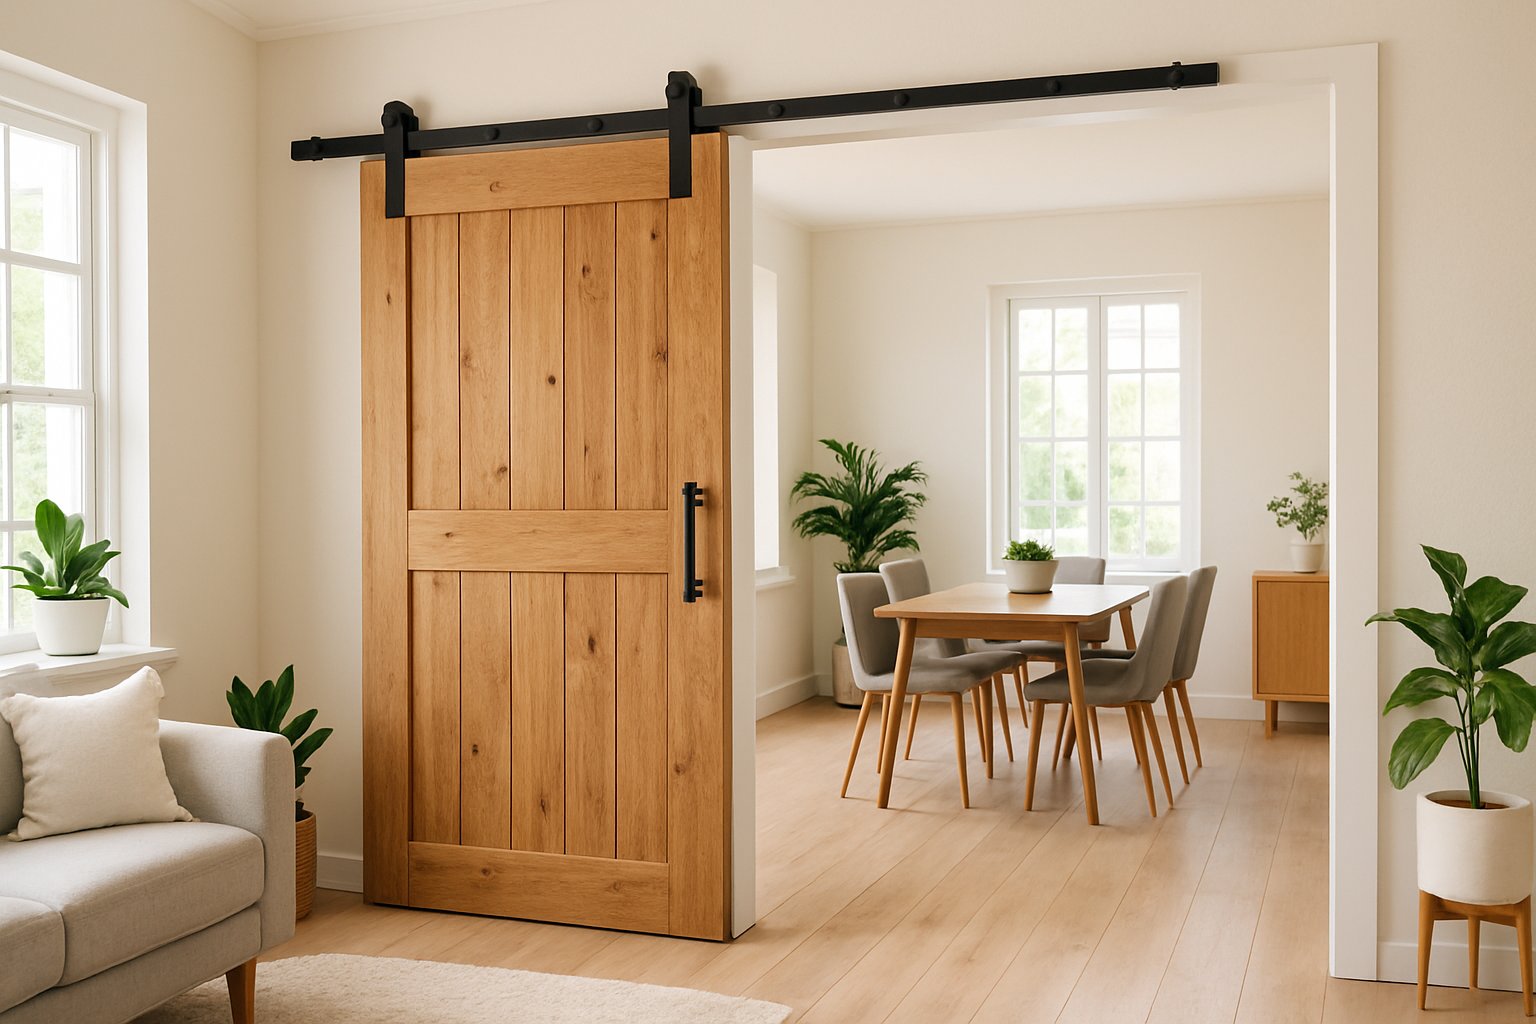
You want that open-concept feel but also need to hide from relatives who overstay their welcome. A sliding barn door gives you the best of both worlds.
These doors let you keep spaces feeling connected when you want them open. When privacy calls, just slide the door shut and pretend you’re not home.
You can install barn doors without removing existing trim, which saves time and your sanity. This means less mess and fewer reasons to avoid the project for another six months.
The installation process typically takes just a few hours. You’ll need basic tools and some patience, but it’s not rocket science.
Start by measuring your doorway twice. Trust me, measure twice because cutting once with the wrong numbers leads to creative swearing.
Mount the track hardware above your door opening. Make sure it’s level unless you enjoy doors that slide downhill like a broken shopping cart.
The track needs to extend past the doorway on one side. This gives the door somewhere to hide when it’s open, like a wooden ninja.
Choose your door style carefully. Rustic wood works great, but you can also go modern if that’s more your speed.
Building a custom barn door costs less than many traditional doors. Plus you get bragging rights at dinner parties.
The hardware kit includes rollers that hang from the track. These let your door glide smoothly instead of dragging like your motivation on Monday mornings.
Test the door movement before declaring victory. It should slide easily without wobbling or making sounds that wake the neighbours.
Your new barn door creates instant privacy when needed. Uncle Bob can knock all he wants, but you’ll be safely hidden behind your stylish barrier.
3) Create a breakfast bar in the space where a wall used to be—because who doesn’t want to casually sip maple syrup while chatting?
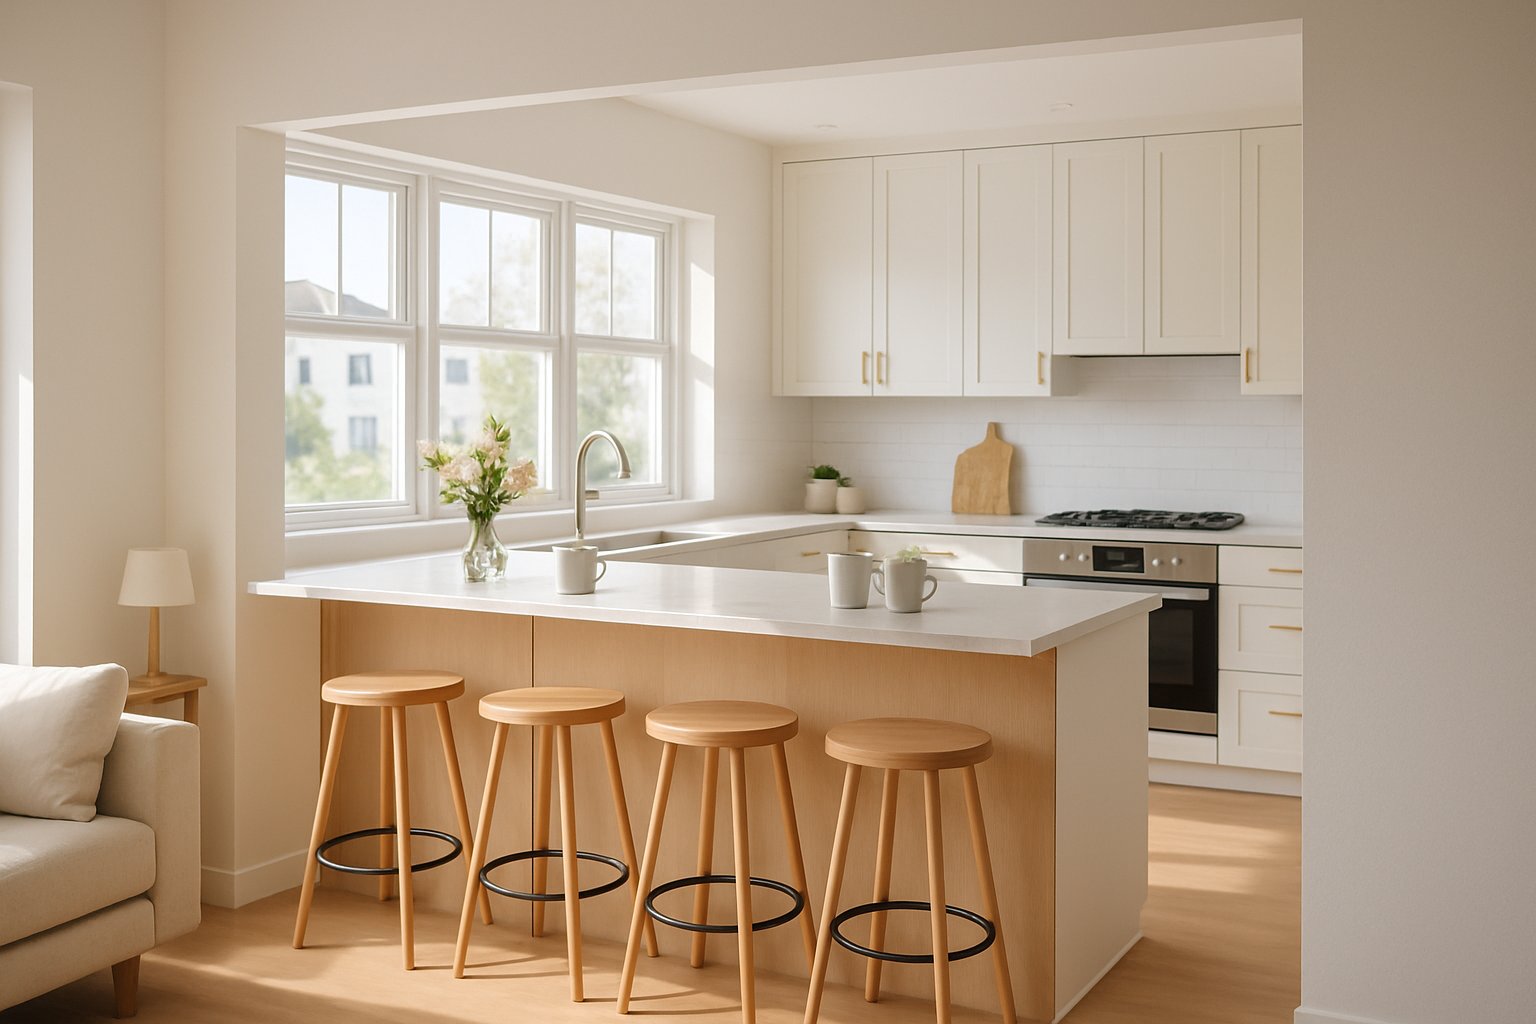
Knocking down that wall just freed up the perfect spot for your new breakfast bar. You’ve got this open space begging to become the most popular hangout in your house.
A wall-mounted breakfast bar maximizes limited space while creating a cozy dining area. You can attach a counter-height surface to your remaining wall structure for informal meals and food prep.
The installation process is surprisingly simple. You’ll need to secure mounting brackets to wall studs and attach your chosen countertop material.
Consider a wooden breakfast bar for that warm, inviting feel. Pair it with tall stools and you’ve got yourself a casual dining spot that’s perfect for morning coffee or late-night snacks.
Your new breakfast bar doesn’t just save space—it creates extra storage underneath too. You can add shelves, cabinets, or leave it open for bar stools when not in use.
The beauty of building a breakfast bar in your former wall space is the flexibility it offers. You’re not committed to a bulky kitchen island that dominates the room.
Want to get fancy? Choose granite, butcher block, or quartz for your surface. Each material brings its own personality to your kitchen renovation.
This setup works brilliantly for entertaining. Your guests can chat with you while you cook, and everyone has a front-row seat to your culinary masterpiece.
The breakfast bar becomes your kitchen’s social hub. It’s where homework gets done, where friends gather for coffee, and where you’ll find yourself eating way too many midnight snacks.
Your former wall space transforms from a room divider into a connection point. You’ve created more than just extra counter space—you’ve built a gathering spot that brings people together.
4) Add built-in shelving in the newly opened space to hide your snack stash and impress guests with your organizational sorcery
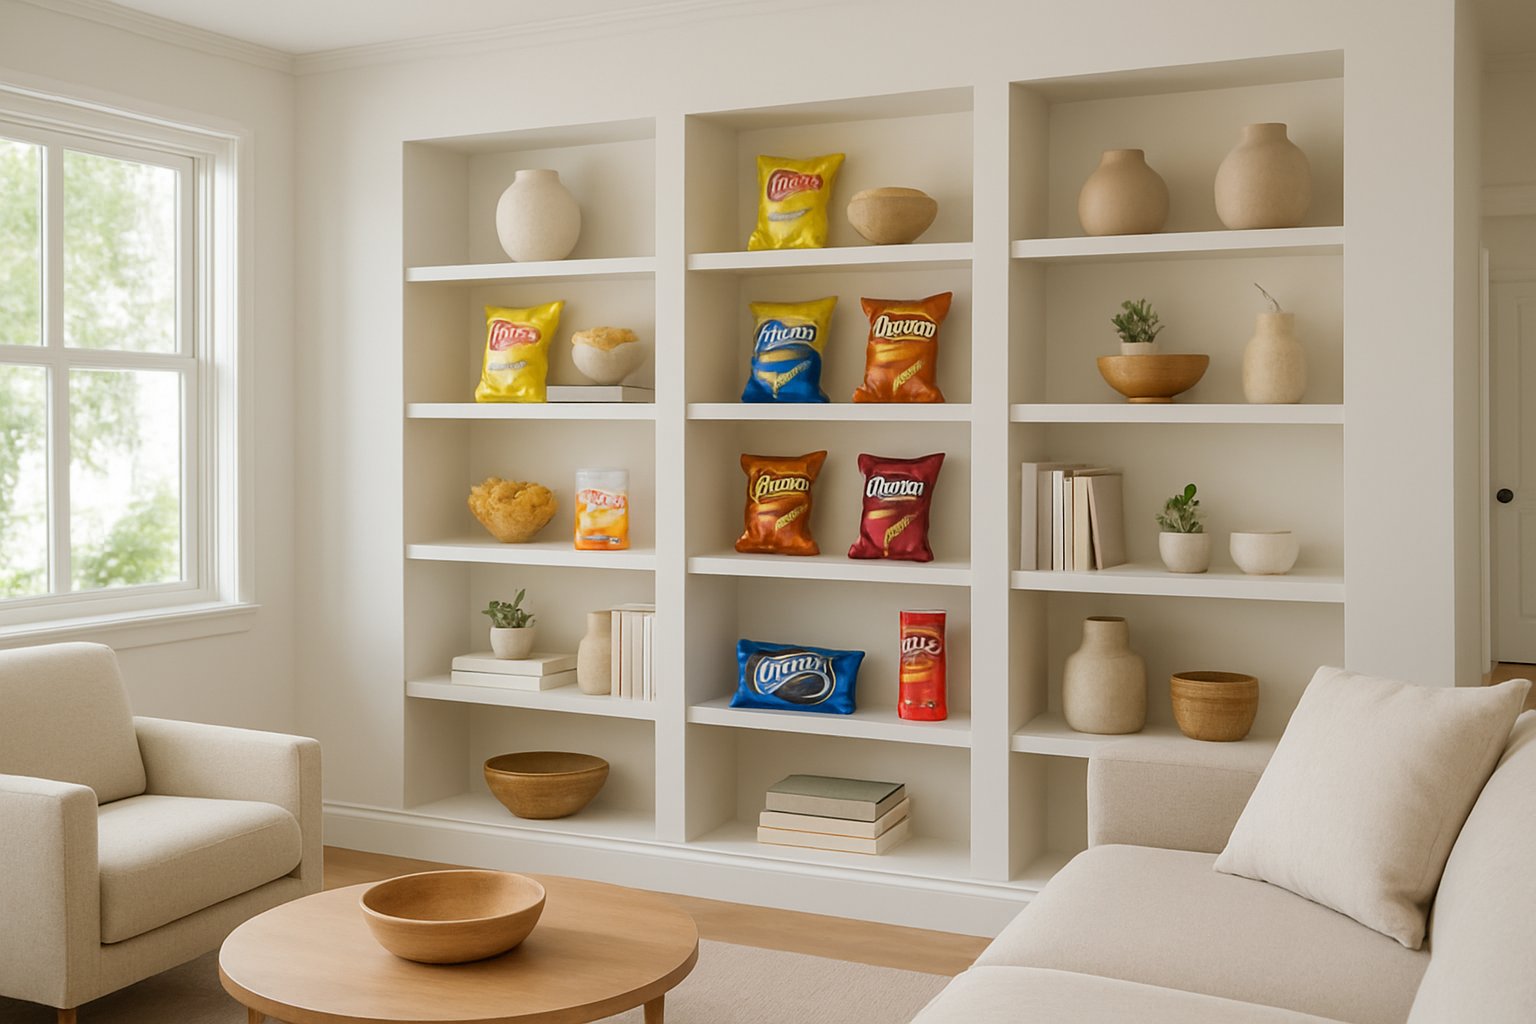
After knocking down walls, you’ve got fresh space begging for some serious storage magic. Built-in shelving transforms that empty area into a snack fortress that would make Marie Kondo weep tears of joy.
Your guests will think you’re some kind of organizational wizard when they see your perfectly arranged treats. Behind those sleek cabinet doors, you can stash enough chips and cookies to survive the apocalypse.
DIY built-in shelving projects let you customise every inch to fit your snacking habits. Want a secret compartment for your premium chocolate? Done. Need a spot for your emergency ice cream supply? Easy.
The beauty of built-ins is they look like they’ve always belonged there. Unlike that wobbly bookshelf from the furniture store, these babies become part of your home’s DNA.
You can build custom shelving units around existing features like fireplaces or windows. This creates a cohesive look that screams “I have my life together” even when you’re eating cereal for dinner.
Smart storage solutions include pull-out drawers for easy access to your goods. No more digging through cabinets like a raccoon in a garbage bin.
Consider adding lighting inside your built-ins to showcase your collection. LED strips make your snack inventory look like a fancy store display.
Built-in storage solutions work especially well in smaller spaces where every square centimetre counts. They maximise vertical space while keeping everything organised and accessible.
The best part? You can design different zones for different treats. Sweet stuff goes here, salty snacks go there, and emergency chocolate gets the prime real estate at eye level.
Your newly opened space becomes a functional masterpiece that serves double duty as both storage and conversation starter.
Surviving and Thriving During Major Home Renovations

Living through a wall-busting renovation means preparing for dust clouds that would make a sandstorm jealous and learning to communicate with contractors who speak fluent power tool. Your mental health and project timeline depend on smart preparation and clear expectations.
Keeping Your Sanity When the Walls Start Coming Down
Prepare mentally, financially, and physically before the first sledgehammer swing. Your daily routine will disappear faster than your morning coffee when the power gets cut.
Set up a temporary living space away from construction zones. Choose a room with a door you can actually close. This becomes your sanctuary when the drilling starts at 7 AM.
Pack away breakable items and anything you value. Dust travels through microscopic spaces you never knew existed. Even sealed rooms somehow collect a fine layer of renovation grime.
Create realistic timelines and add 30% more time than quoted. Contractors face delays from weather, material shortages, and discovering your house has “character” behind the walls.
Establish daily routines outside your home. Find a local café for morning coffee or join a gym. Having somewhere to escape maintains your sanity during the chaos.
Keep important documents and medications in a portable container. You might need to evacuate rooms quickly or stay elsewhere temporarily.
Living through a remodel requires flexibility with your daily habits. Accept that normal life pauses during major renovations.
Post-Renovation: Making the Most of Your Open Spaces
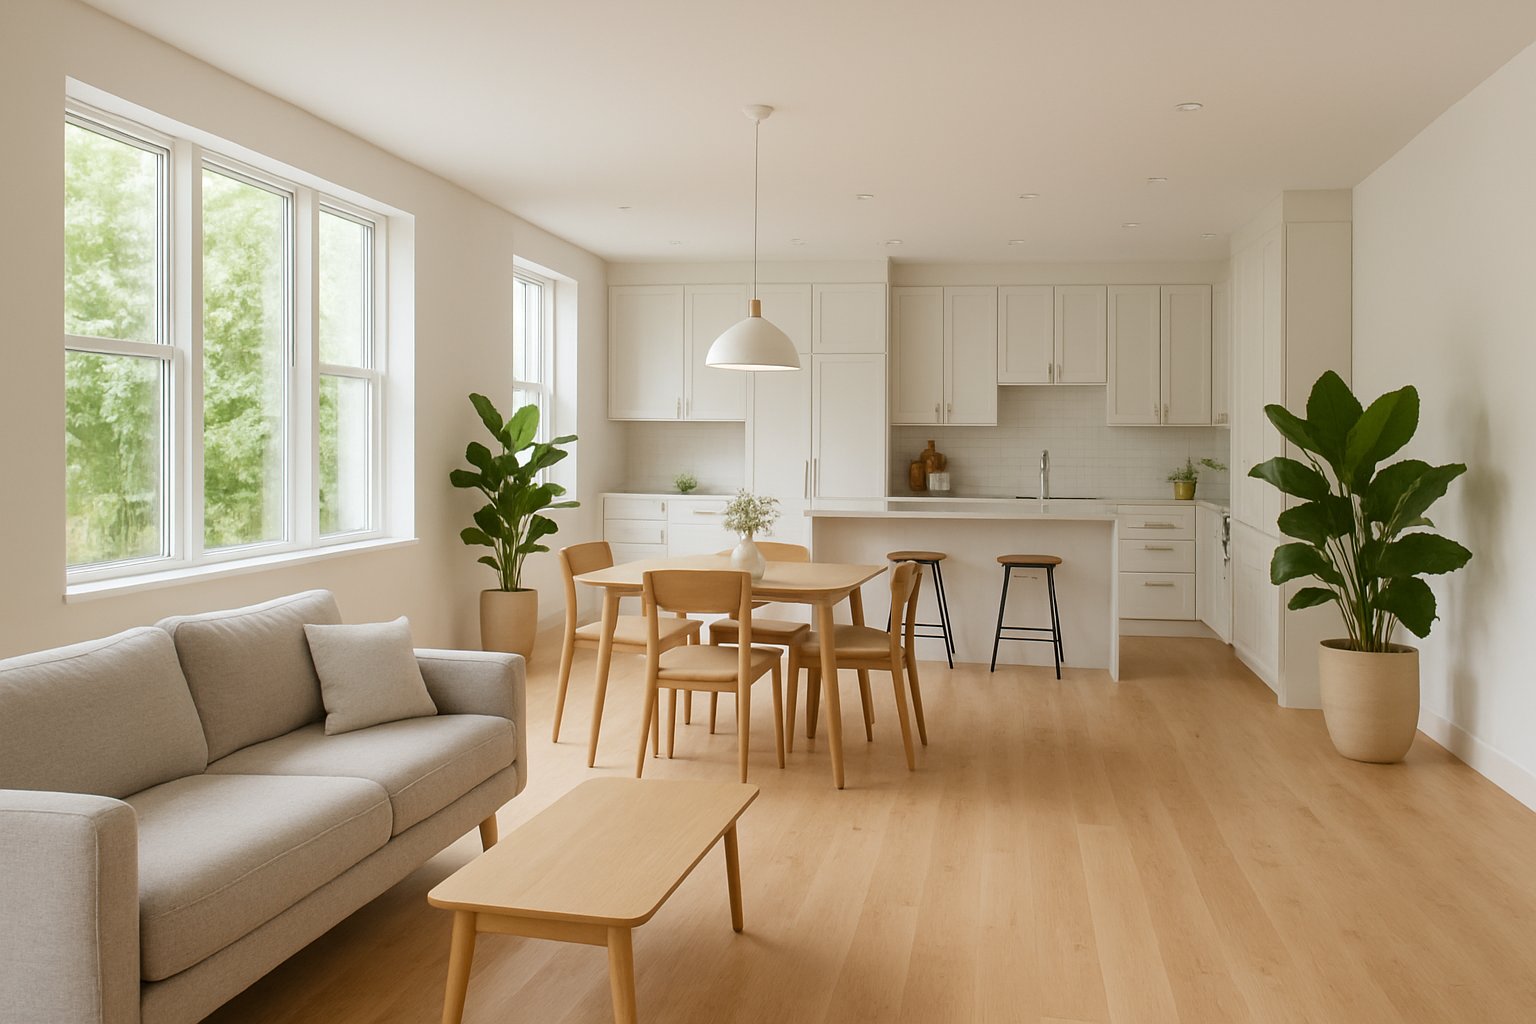
Your newly opened space needs smart furniture placement and lighting to feel cohesive rather than like a giant empty room. The right arrangement creates distinct zones while maintaining that airy flow you worked so hard to achieve.
Furniture Feng Shui: Arranging for Maximum Enjoyment
Your sofa doesn’t need to hug the wall like it’s afraid of commitment. Float it in the room to create natural boundaries between your living and dining areas.
Use area rugs to define each zone. A large rug under your seating area makes it feel cozy, while a smaller one under the dining table keeps crumbs contained.
Create conversation areas by angling chairs toward each other. Nobody wants to crane their neck like an owl just to chat with their guests.
Your coffee table should sit about 18 inches from the sofa. Too close and you’ll bruise your shins daily. Too far and you’ll need telescoping arms to reach your drink.
Consider a console table behind your floating sofa. It provides storage and a spot for lamps without blocking sightlines through your open-concept living space.
Let There Be Light! Smart Lighting Tips for Airier Rooms
Overhead lighting alone makes your space feel like a grocery store. Layer different types of lighting to create warmth and depth.
Table lamps on side tables provide ambient lighting for relaxing evenings. Floor lamps in corners eliminate dark spots that make your room feel smaller.
Pendant lights over kitchen islands or dining tables define these areas without walls. Hang them 30-36 inches above the surface so tall people don’t knock themselves unconscious.
Dimmer switches are your best friend. Bright lighting for cooking and cleaning, soft lighting for Netflix marathons.
Use under-cabinet lighting in kitchens to illuminate countertops. It reduces shadows and makes food prep safer than playing vegetable roulette with a sharp knife.