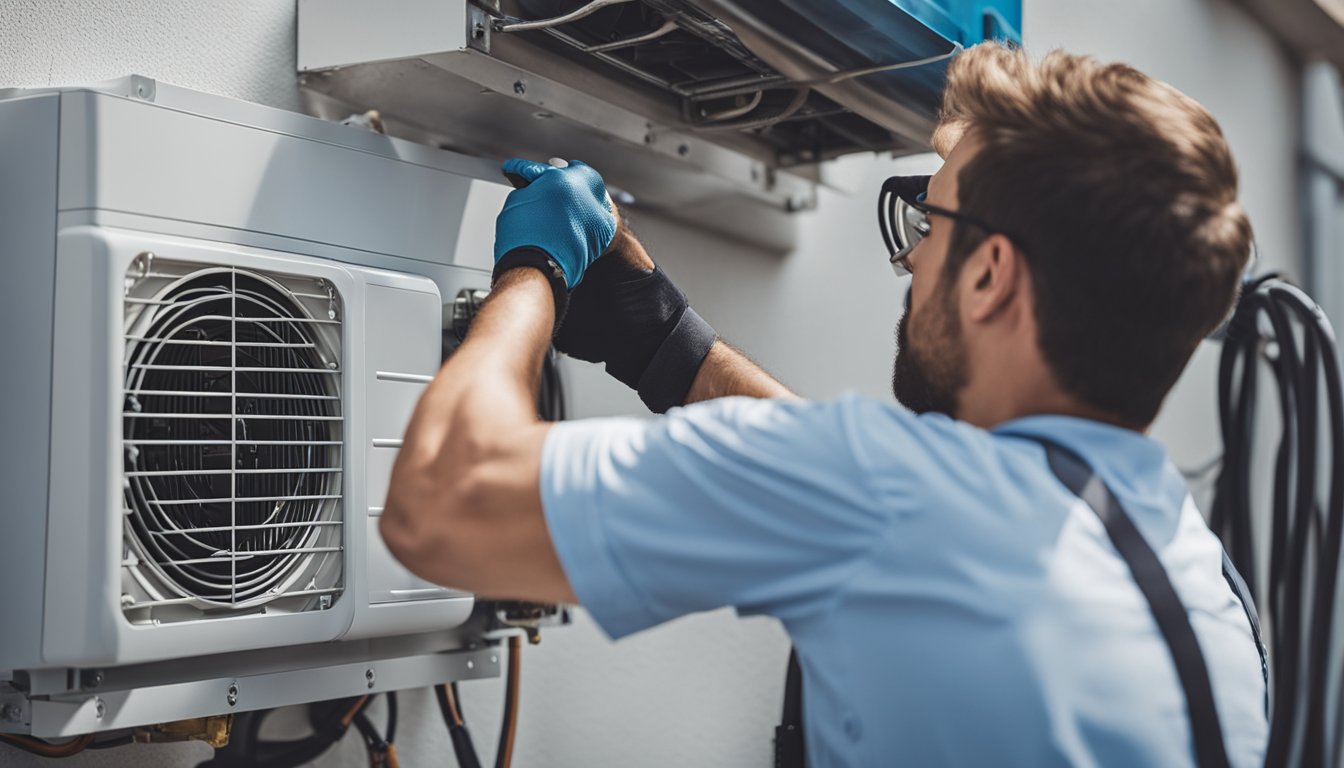
A properly installed Air Conditioning unit keeps your space cool and cuts energy costs. The average cost to install a central air conditioner ranges from $3,000 to $7,000, depending on the size and type of system.
Picking the right AC for your needs is key. You’ll want to consider factors like the size of your space, energy efficiency ratings, and your budget. Window units work well for small areas, while central air or ductless mini-splits are better for cooling entire homes.
Professional AC installation ensures your system runs efficiently and lasts longer. Experts can help you choose the best unit, place it correctly, and set it up for optimal performance. With proper installation, you can enjoy cool comfort for years to come.
Understanding Air Conditioner Installation
Installing an air conditioner correctly is key to getting the best cooling and energy efficiency. Knowing the different types, where to put them, and why proper setup matters will help you make smart choices.
Types of Air Conditioners
Air conditioners come in several forms. Window units fit in window frames and are easy to install. Split systems have indoor and outdoor parts for quieter operation. Portable ACs can move from room to room. Central air uses ducts to cool the whole house.
Each type has its pros and cons. Window units are cheap but can block light. Split systems cool well but cost more. Portable ACs are flexible but less powerful. Central air is great for big homes but needs lots of work to install.
About 90% of U.S. homes have some form of air conditioning. Pick the type that fits your space and budget best.
Selecting the Right Location
Where you put your AC matters a lot. For window units, pick a spot away from trees and buildings. This helps air flow freely. Make sure the window can support the unit’s weight.
For split systems, the indoor part should go high on a wall. The outdoor unit needs a firm, level surface. Keep it away from bushes and out of direct sun if you can.
Central AC outdoor units work best on the north or east side of your house. This keeps them cooler. Leave at least 2 feet of space around the unit for good airflow.
Importance of Proper Installation
Getting the install right is crucial. A badly installed AC can use up to 30% more energy. It might also break down faster or cool poorly.
Correct installation ensures your AC runs well. This means sealing gaps, setting the right refrigerant level, and checking electrical connections. Good install also helps prevent water leaks and mold growth.
DIY installation can save money. But it’s risky if you’re not sure what you’re doing. Wrong setup can void warranties or cause safety issues. For most AC types, it’s smart to hire a pro.
Preparing for Installation
Getting ready for air conditioner installation involves careful planning and gathering the right tools. Proper measurements and sizing are crucial for a successful setup.
Gathering Necessary Tools
To install an air conditioner, you’ll need some basic tools. A measuring tape is essential for accurate sizing. You’ll also need a screwdriver to secure brackets and other components.
Make sure you have a level to ensure proper alignment. Pliers and wire strippers are helpful for electrical connections. Don’t forget safety gear like gloves and safety glasses.
Keep a drill handy for making holes if needed. A voltage tester is useful to check electrical connections. Having all these tools ready will make the installation process smoother and faster.
Measuring and Sizing Considerations
Correct sizing is key for your air conditioner’s performance. Measure the room or area you want to cool. Note the length, width, and ceiling height.
Consider factors like sun exposure and insulation. These affect how much cooling power you need. Windows and doors also play a role in heat gain.
Use an AC sizing calculator or consult a professional to determine the right BTU rating. A unit that’s too small won’t cool properly. One that’s too big will cycle on and off too often.
Don’t forget to measure the space where you’ll place the unit. Ensure you have enough room for proper airflow around the system.
The Installation Process
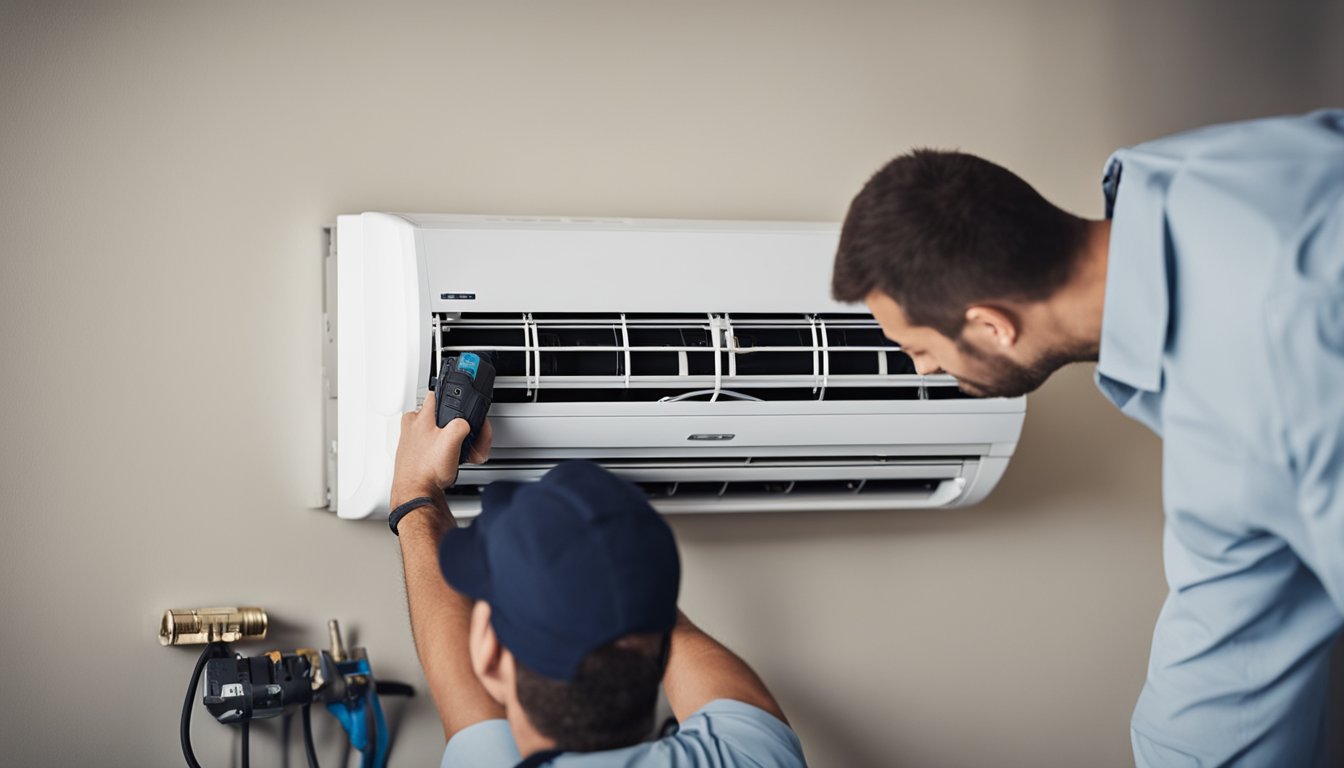
Installing an air conditioner involves several key steps to ensure proper function and safety. The process requires careful preparation and attention to detail throughout.
Installing the Mounting Brackets
Start by measuring your window opening. This ensures you have the right size unit for your space. Clean the window sill thoroughly before beginning.
Place the L-brackets on the window sill. Make sure they’re level and aligned correctly. Mark the spots for screws.
Drill pilot holes for the screws. This prevents wood splitting. Attach the brackets firmly to the window frame.
Check that the brackets are secure. They need to support the weight of the air conditioner unit. Adjust if needed to ensure a snug fit.
Securing the Air Conditioner Unit
Carefully lift the AC unit. It’s best to have someone help you with this step. Place it on the mounting brackets.
Slide the unit into position. Make sure it’s centered in the window opening. Check that it’s level from front to back and side to side.
Extend the side panels to fill any gaps. Secure them to the window frame. This prevents air leaks and insects from entering.
Lower the window sash onto the top of the AC unit. Lock it in place for added security. Use foam insulation strips to seal any remaining gaps.
Connecting Electrical Components
Locate a nearby power outlet. Make sure it can handle the AC unit’s power needs. Don’t use extension cords or power strips.
Plug the AC unit directly into the outlet. Ensure the cord isn’t stretched or pinched. Keep it away from heat sources and foot traffic.
Check that the plug fits snugly in the outlet. A loose connection can cause overheating. Replace worn outlets before installing your AC.
Test the unit by turning it on. Listen for any unusual noises. Make sure cool air is flowing properly. Adjust the thermostat to ensure it’s working correctly.
Final Steps and Safety Checks
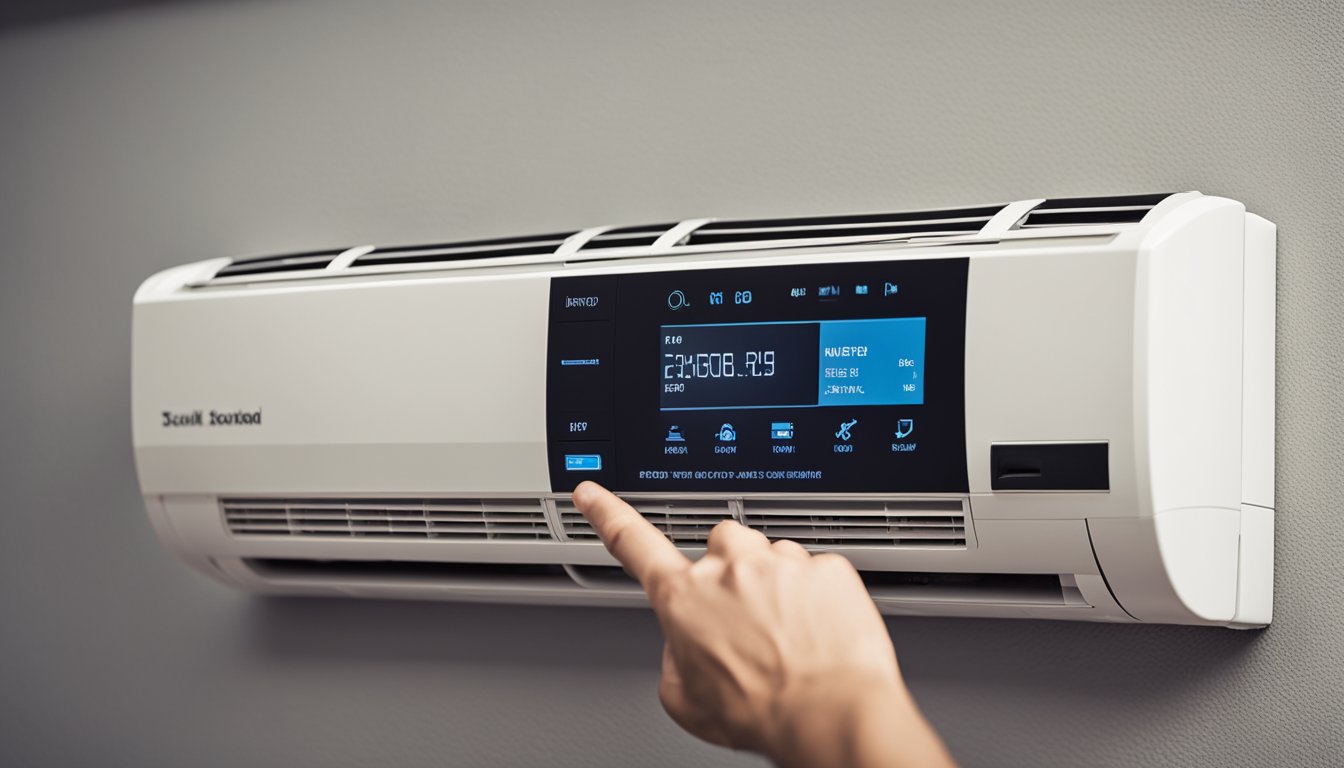
After installing your air conditioner, it’s crucial to perform some final checks. These steps ensure your unit works properly and safely.
Checking for Leaks and Obstructions
Start by examining all connections for refrigerant leaks. Use a leak detector or soapy water to spot any issues. Bubbles forming indicate a leak that needs fixing right away.
Look for any obstructions around the condenser unit outside. Remove leaves, twigs, or debris that could block airflow. This helps your AC run more efficiently.
Check the condensate drain line for clogs. Pour a cup of water into the drain pan to make sure it flows freely. A blocked drain can cause water damage and affect cooling.
Inspect all electrical connections. Tighten any loose wires. Make sure the power supply is secure and properly connected to avoid safety hazards.
Testing the Air Conditioner’s Functions
Turn on your AC and test all its features. Set the thermostat to “cool” and lower the temperature. You should feel cold air within a few minutes.
Check that the fan speeds work correctly. Try low, medium, and high settings to ensure proper airflow.
Test the remote control if your unit has one. Make sure all buttons function as they should.
Listen for any unusual noises. Your AC should run quietly without rattling or buzzing sounds.
Monitor the unit for a full cycle. It should turn on and off smoothly as it reaches the set temperature.
Measure the temperature difference between the return and supply air. A drop of 14-20°F indicates good cooling performance.
Maintaining Your Air Conditioner Post-Installation
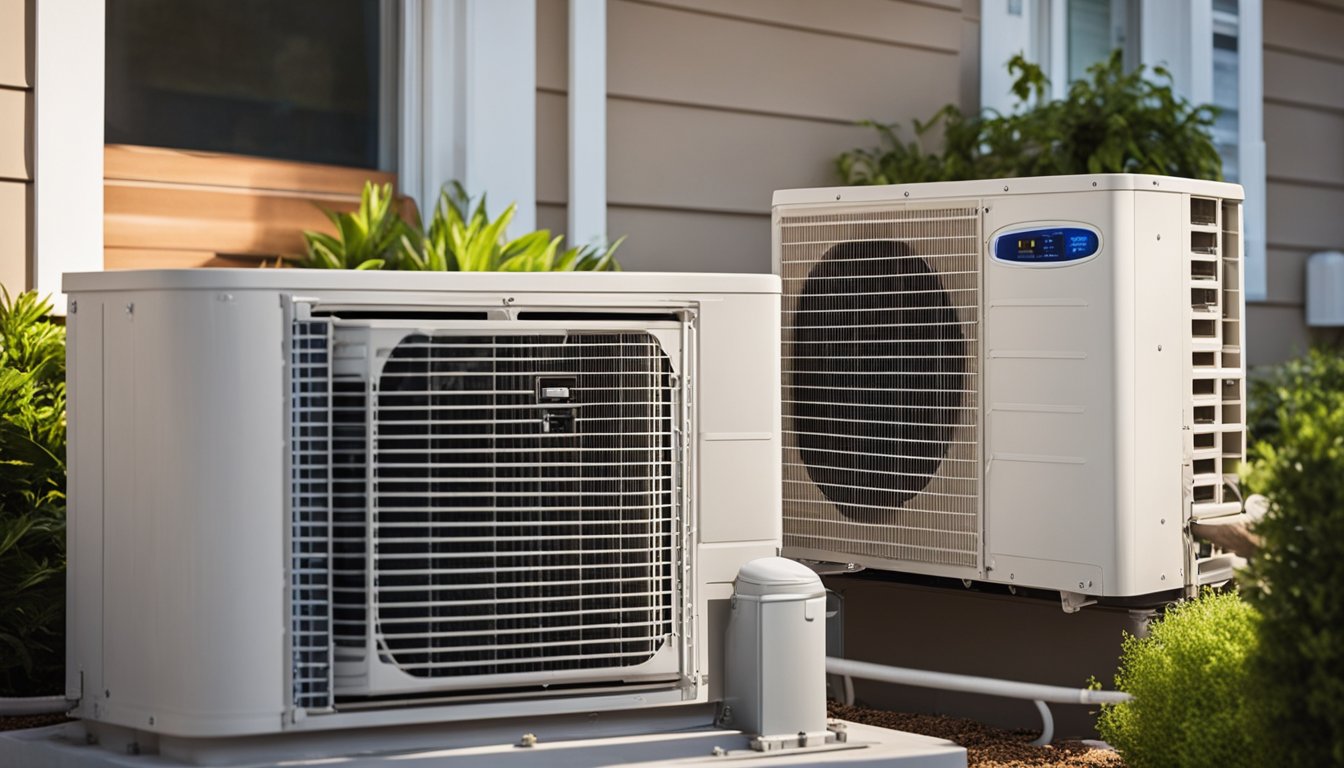
After installing your air conditioner, proper upkeep is key to its long-term performance. Regular cleaning and maintenance help prevent issues and keep your AC running smoothly.
Regular Cleaning and Maintenance
Clean your AC’s outdoor unit often. Remove leaves, twigs, and dirt from around it. This keeps airflow strong. Wash the fan cage and fins gently with a garden hose. Don’t use a pressure washer as it can cause damage.
Check the concrete pad under your unit. Make sure it’s level and stable. An uneven pad can strain your AC’s parts.
Replace air filters every 30-90 days. This improves air quality and helps your AC work better. Clean filters can cut energy bills by up to 15%.
Inspect weather strips and side panels. Fix any gaps to stop air leaks. This keeps your AC working efficiently.
Identifying Common Issues
Listen for odd noises from your AC. Squealing or grinding sounds often mean parts need fixing or replacing.
Watch for ice on your AC’s coils. This can mean low refrigerant or airflow problems. If you see ice, turn off your AC and call a pro.
Check your electric bill. A sudden spike might mean your AC is working too hard. This could be due to a clogged filter or low refrigerant.
Look for water leaks near your indoor unit. This might show a clogged drain line. Clear it to stop water damage and mold growth.
Feel the air coming from your vents. If it’s not cool enough, you might have a refrigerant leak or a failing compressor.
Frequently Asked Questions
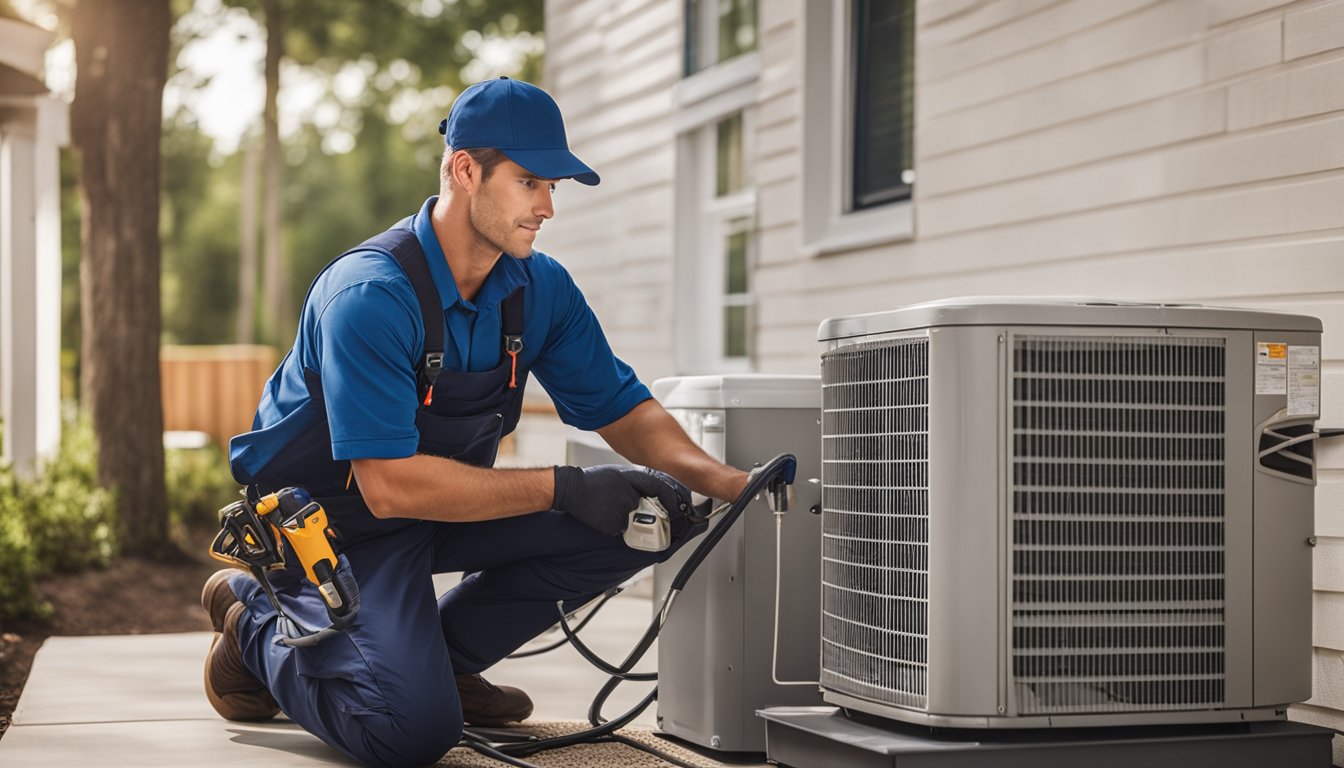
Air conditioner installation involves several key factors that impact cost, process, and system selection. Proper planning and professional guidance can help ensure an efficient and effective setup.
What factors affect the cost of installing a central air conditioning system?
The size of your home plays a big role in the cost. Larger homes need more powerful units, which are pricier. Your home’s existing ductwork also matters. If you need new ducts, costs go up.
The efficiency rating of the AC unit affects price too. Higher-rated units cost more upfront but can save money on energy bills. The brand and model you choose will impact the total cost as well.
Is professional installation necessary for a window air conditioner, or can it be done DIY?
You can install a window AC yourself, but professional help has benefits. DIY saves money, but pros ensure proper fit and seal. They also check electrical needs.
Professional installers can spot potential issues you might miss. This helps avoid problems down the line. If you’re not comfortable with DIY, hiring a pro is a smart choice.
How is air conditioner installation cost calculated for a residential property?
Installation costs include the AC unit price and labor fees. The unit size, measured in tons, affects the price. Labor costs vary based on job complexity.
Short-cycling can increase costs over time. This happens when an AC turns on and off too quickly. It wears out the system faster, leading to more repairs.
What are the potential additional charges to consider when installing a new air conditioning unit?
Ductwork repairs or installation can add to the cost. You might need electrical upgrades to support the new system. Removing an old unit also costs extra.
Some homes need a new thermostat or zoning system. These add to the total price. Permits and inspections are often required and come with fees.
What should I look for in a service provider when planning air conditioner installation?
Look for licensed and insured providers. They should have good reviews and references. Ask about their experience with your type of installation.
A good provider offers clear, written estimates. They should explain the process and answer your questions. Check if they offer warranties on their work.
How does the size of the home influence the type of air conditioning system appropriate for installation?
Your home’s size determines the AC unit’s cooling capacity. Larger homes need more powerful units to cool effectively. Small units in big spaces won’t cool properly.
The layout matters too. Open floor plans might need different systems than homes with many small rooms. Multi-story homes often require special considerations for even cooling.